
Believe in Happily Ever After
March 23 2019 – My Carpe Diem Admin


Every girls dream is to be a princess waiting for her prince charming and live happily every after.
I decided to use the "Little Princess" Collection to set up a fairy tale theme TN for my 3 year old daughter. She's at that age where she loves all the princesses.
The little girl inside of me was so excited and I felt giddy when this collection came out. This collection has many gorgeous papers that I couldn't decide what to use for my front insert cover.
I decided to create a simple and yet colorful insert cover. I used the paper with the quote "Believe in Happily after" This paper is already decorated with lots of flowers and it didn't really need much more embellishments. I just added the chipboard "Princess" sticker to the top, the princess chipboard sticker to the right bottom and scattered some butterflies with the flowers. I finished it off with adding some enamel dots.

Of course, every princess deserves planner pockets full of love with magical embellishments.

Deep down inside we all want our own "happily ever after"

I just love the side view of this set up with the princesses tabs sticking out to the side.

I had so much fun creating this section. I used different papers in which I cut them in different sizes and layered them to give it more of that 3D appeal. I also used my flower punch for the edges. I used couple of bits & pieces to decorate the middle area. I am planning to add pictures of my daughter later on when we visit Disneyland to see the princesses.

Gotta love the side view which shows the layers I created.

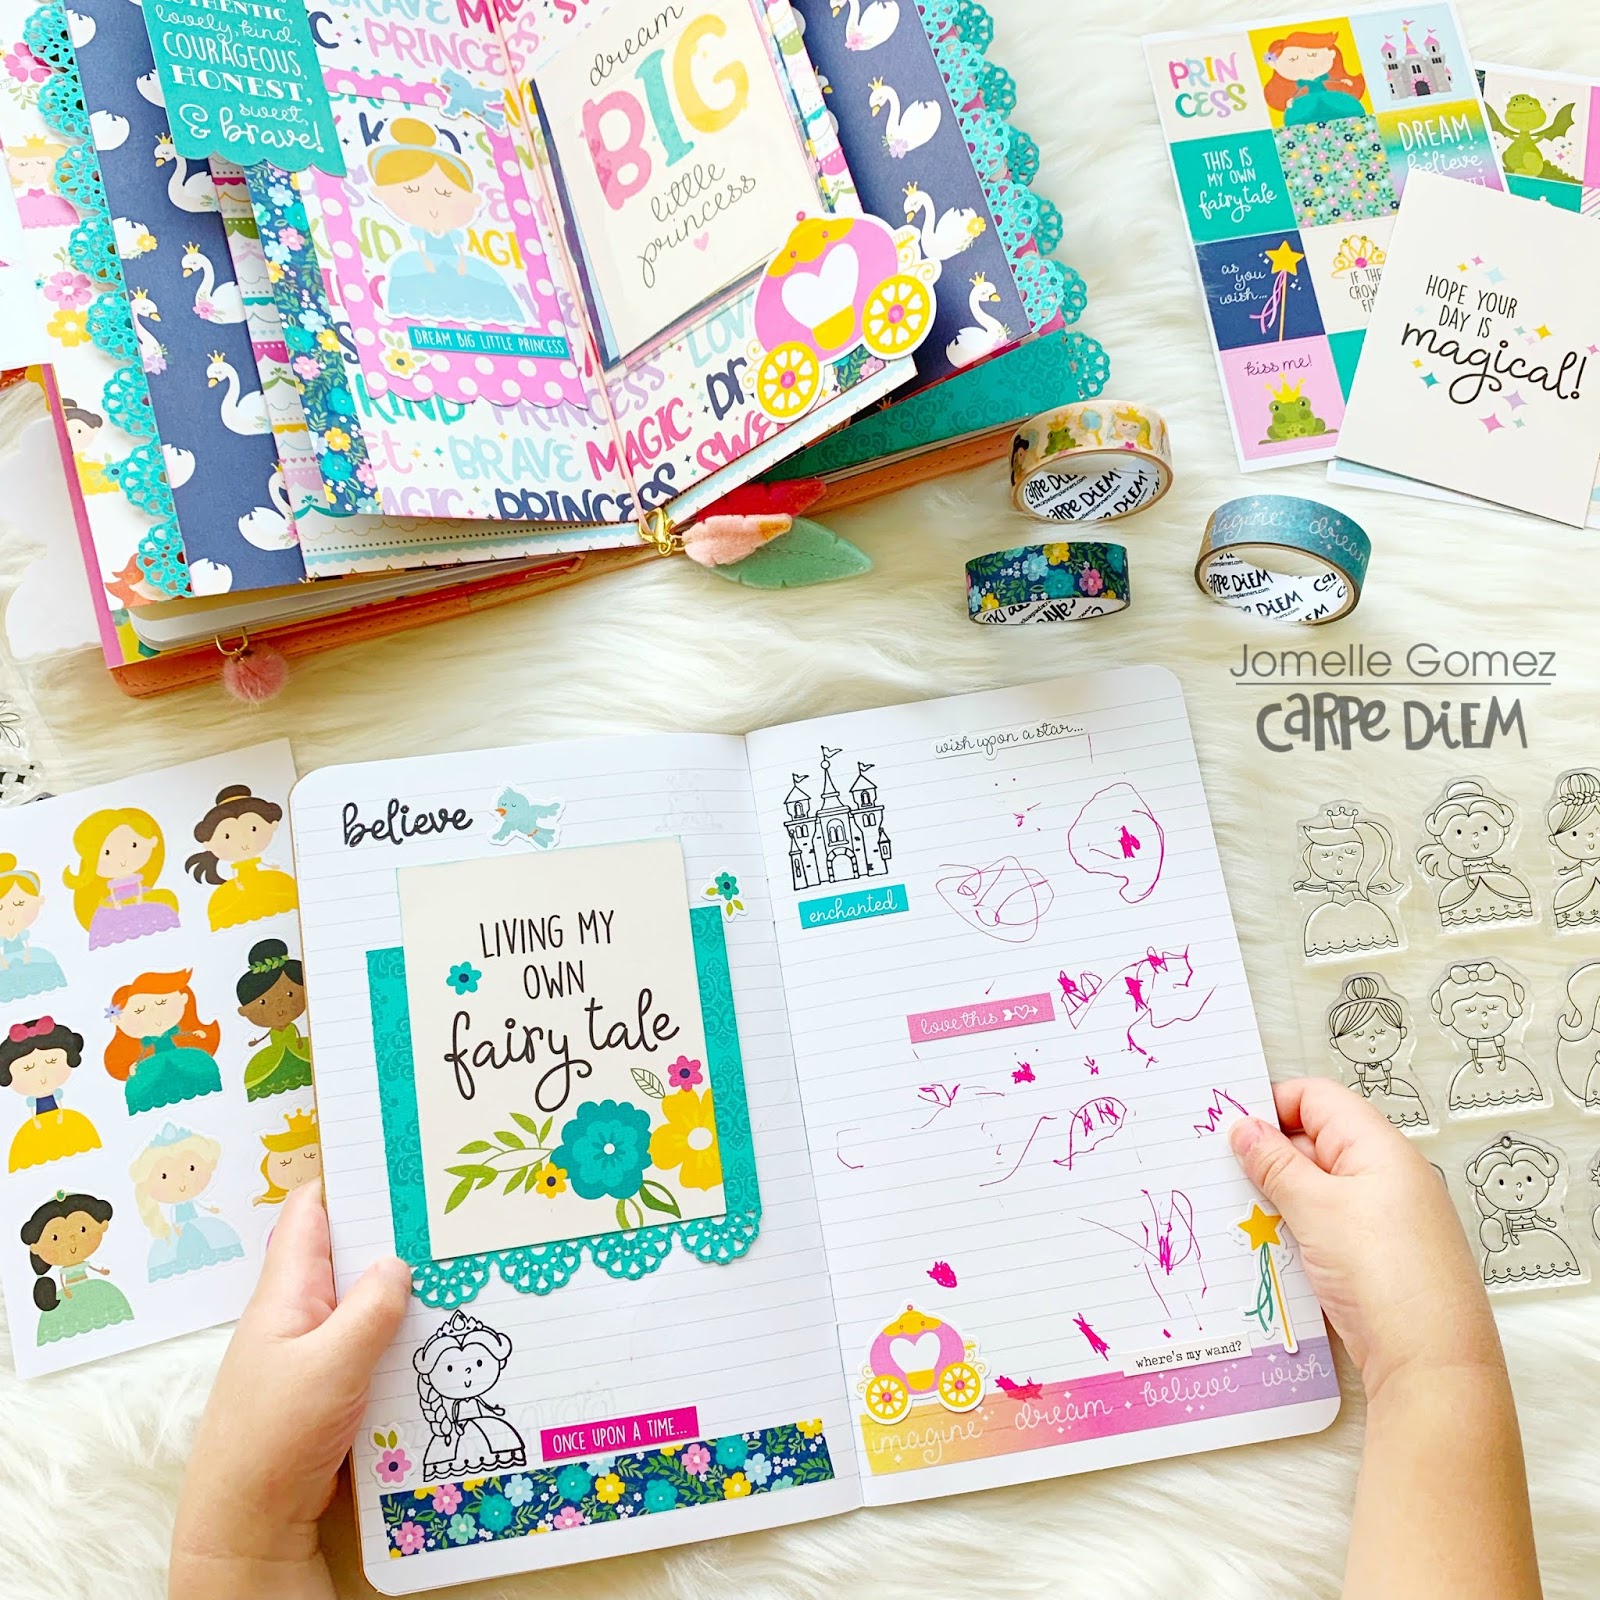
As I mentioned in the beginning, I set up this TN for my 3 year old daughter. She love tracing her hands and I love documenting it. We can look back at this page to see how much she's grown.

I also let her write and draw on the page as you can see here. I then decorated around her drawings. For now I didn't let her add stickers and washi tapes since I have a little OCD and I want everything to look perfect. Maybe later on when she's old enough I will let her add her stickers and decorate her own page with the washi tapes. Until then, mommy will control the pages.
The planner community has always been my inspiration in creating my projects and layouts. I love love seeing every one's beautiful work. Everyone is going gaga over pen sleeves that I was inspired to create my own to match my Princess Set Up. I used the "hello princess" double sided paper and cut into the size I wanted to hold my pens. I cut two square pieces. One to go in the front and one in the back. I laminated both pieces and I sewed all around the sides except for the top.
I ran over a little challenge while creating this pen sleeve. I first used a 10mm laminating sheet but it was too heavy and too hard to sew. So I decided to use 5mm instead and it worked out well. I was able to sew through both laminated pieces.

I am super excited for my daughter to fill the pages with her drawings and I cannot wait to add pictures.
Thank you for stopping by and hope you have a great day.
Thank you for stopping by and hope you have a great day.